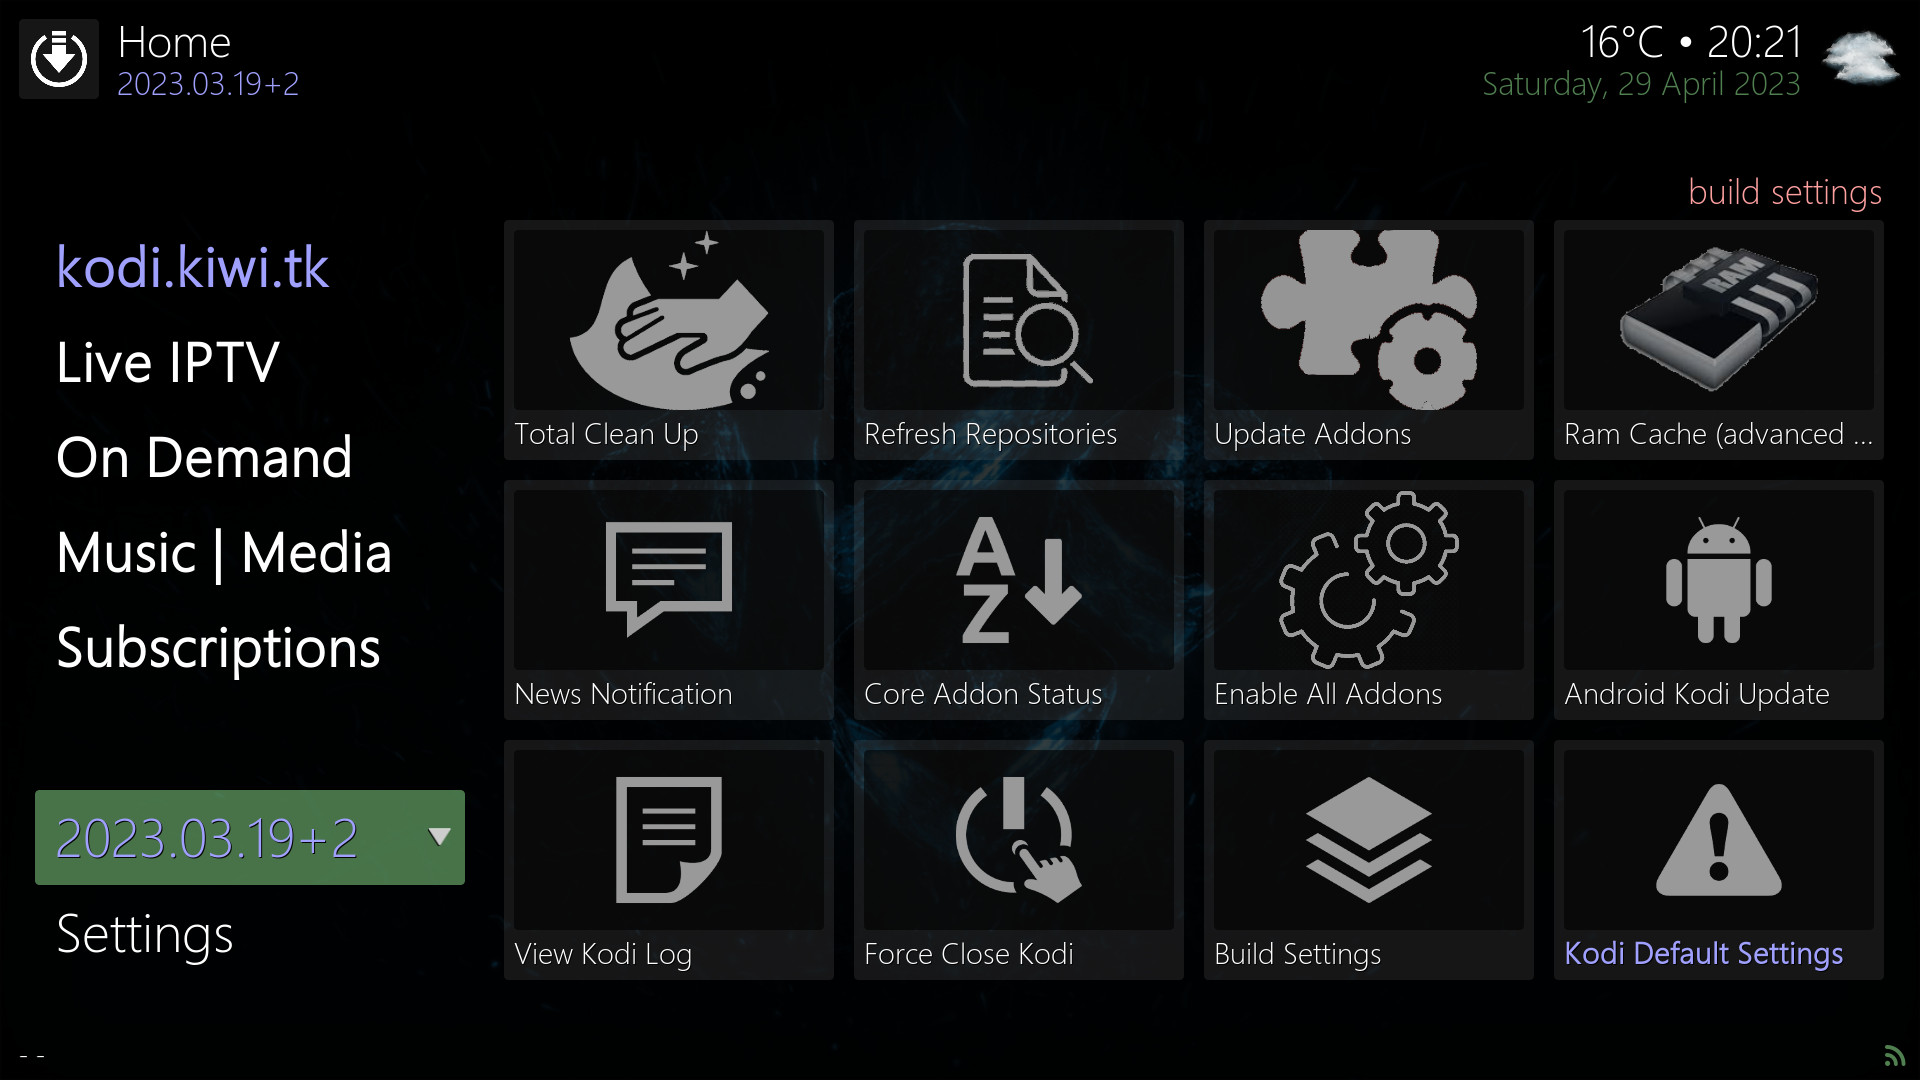
Build Settings | kodi.kiwi.yt
Build Settings is represented by the current version number ("2023.03.19+X"). This section contains links to keep the kodi.kiwi.yt kodi build updated and running smoothly as well as utilities to configure a ram cache to improve performance and links to remove old files etc...
Total Clean Up

The "Total Clean Up" link removes temporary and cache files to free up space, improve performance and fix some cache errors.
Press "OK" on total cleanup. Then select "CLEAN ALL" and press OK. Now select "YES CLEAR" and press OK. The temporary and cache files will be deleted.
Refresh Repositories
Press "OK" to force check all repositories for updates. you will see notifications as the repositories are successfully force checked.
Sometimes the kodi update process can get stuck and this generally fixes it.
Update Addons
Press "OK" to force update all addons installed in kodi. you will see a notification as the process starts and when addons are updated etc...
Sometimes the kodi update process can get stuck and this mostly fixes it.
Manual Repo Update
Press "OK" then navigate to "thirdparty.kiwi.yt" and press OK. Now navigate to "INSTALL" and press OK then navigate to "YES" and press OK to manually update the third party addons repository.
You will be prompted when this is required in the rss news stream and news & notifications notice.
Ram Cache
Ram caching can help reduce buffering on unstable internet connections. Do not enable ram caching unless your system has at least 2gb of ram.
Press "OK" to configure ram caching. Select "Low-RAM Device Preset" if your device has between 2gb and 4gb of ram. Select "High-End Device Preset" if your device has 4gb of ram or more. Next select "INSTALL" and press OK. Now select "FORCE CLOSE KODI" and press OK. Restart kodi to complete the instillation.
News Notification

Press "OK" to view the current news and notifications. Select "Dismiss" and press OK to close.
You can view the current news and notifications online by clickinghere
Core Addon Status

Press "OK" to view the status of the core kodi.kiwi.yt kodi build addon's. Press Back to exit the core addon screen.
Enable All Addons

Press "OK" to enable all installed kodi addon's on the device.
Sometimes in kodi addons can become disabled, running this will fix the problem.
Android Kodi Update

Press "OK" to update kodi on android devices. Next select "YES" and navigate to "- Select File Explorer" and press OK. Now navigate to the android file manager app and press OK. Then navigate to "OK" and press OK (if asked). Now navigate to "Official Kodi APK's" and press OK. Now navigate to "Releases" and press OK. Then navigate to the latest version and press OK to download kodi and launch the Android File Explorer Now navigate to Local Disk and OK then Download and OK. Next navigate to the downloaded kodi apk and press OK to install. Then relaunch the kodi app to complete the update.
View Kodi Log

Press "OK" then select "View Kodi Log" to view the kodi error log. Press "Back" to exit the log viewer screen.
Force Close Kodi

Press "OK" then select "FORCE CLOSE KODI" to force close the kodi application.
Build Settings

Press "OK" to open the "Build Settings" screen where you can install the latest build version and select what data is saved during the update.
Kodi Default Settings

WARNING: This will remove the kodi.kiwi.yt build from kodi. The main addon and repository wil remain and need to be manually deleted.
Press "OK" then select "CONTINUE". Now press "OK" to force close kodi and complete the reset.
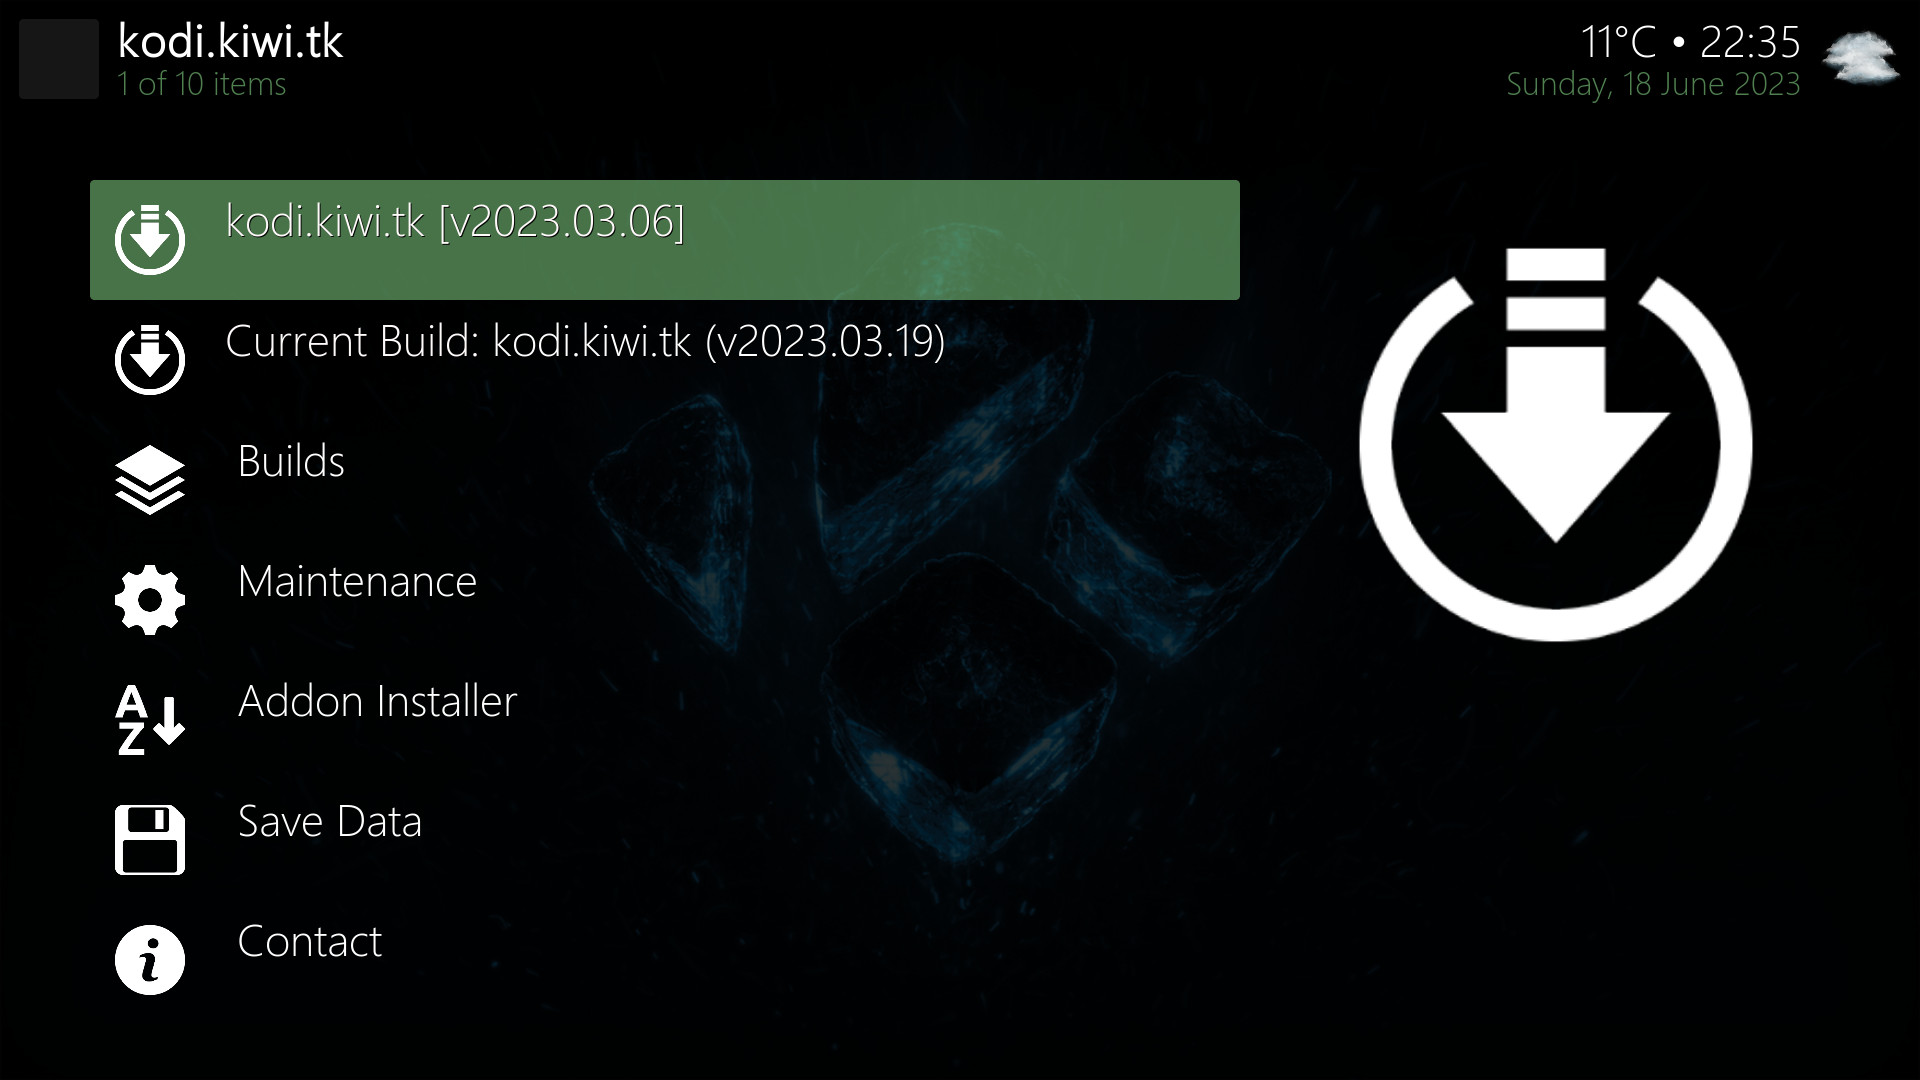
Advanced Build Settings
Pressing "OK" twice on "2023.03.19+X") opens the advanced build settings section. For advanced users only, you could break your build in here and have to reinstall it.